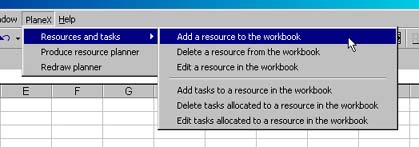
From the main PlaneX menu select the option to add resources to the workbook.

All the employee information we enter is stored in the current workbook.
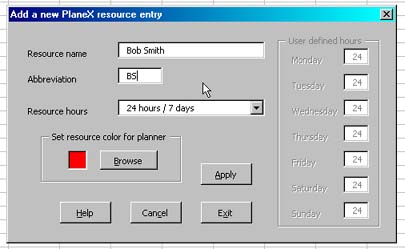
By selecting the 'Add a resource' option we get the dialog window shown below.

We need to enter a name for the resource (which will appear in our key on the planner) and an abbreviation for the resource (which PlaneX will use to create a new worksheet where all the employee's vacation dates will be stored.
The color used on the planner to show the vacation dates of the person is also set here. To change the default color used for the person click on the Browse button.

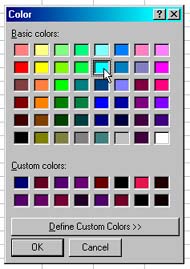
From the color dialog that appears we can select a new color to represent the employee.

Once we 'OK' the resource dialog is updated with the new color (we can change the colors used later if we want). When we press the 'Apply' button in the resource dialog, PlaneX asks us to add a task, for the moment just cancel from that dialog, we will enter all the vacation information later.
This needs to be done for each of the employees. Once we have added them all we can see about inputting their vacation dates.